 Sudden Valley Exterior
 New-Construction Windows for South Hill, Near Sudden Valley
If you're building new, adding a room, or replacing windows down to the rough framing on the South Hill side of Sudden Valley, you're working with a different animal than a typical window swap. New-construction windows attach through a nailing fin directly to the framing and get sealed into the wall assembly before siding goes on. Get that sequence right and the window becomes part of a weathertight wall for decades. Get it wrong and you've built a leak path into the framing that won't show up until there's rot, mold, or a soft spot in the drywall two or three winters later.
We work new-construction window jobs on the South Hill side of Sudden Valley regularly, alongside the retrofit and replacement work we do throughout Whatcom County. This page is about doing the new-construction install correctly for this specific area — the framing details, the flashing sequence, and the material choices that hold up to what the local climate actually throws at a house.
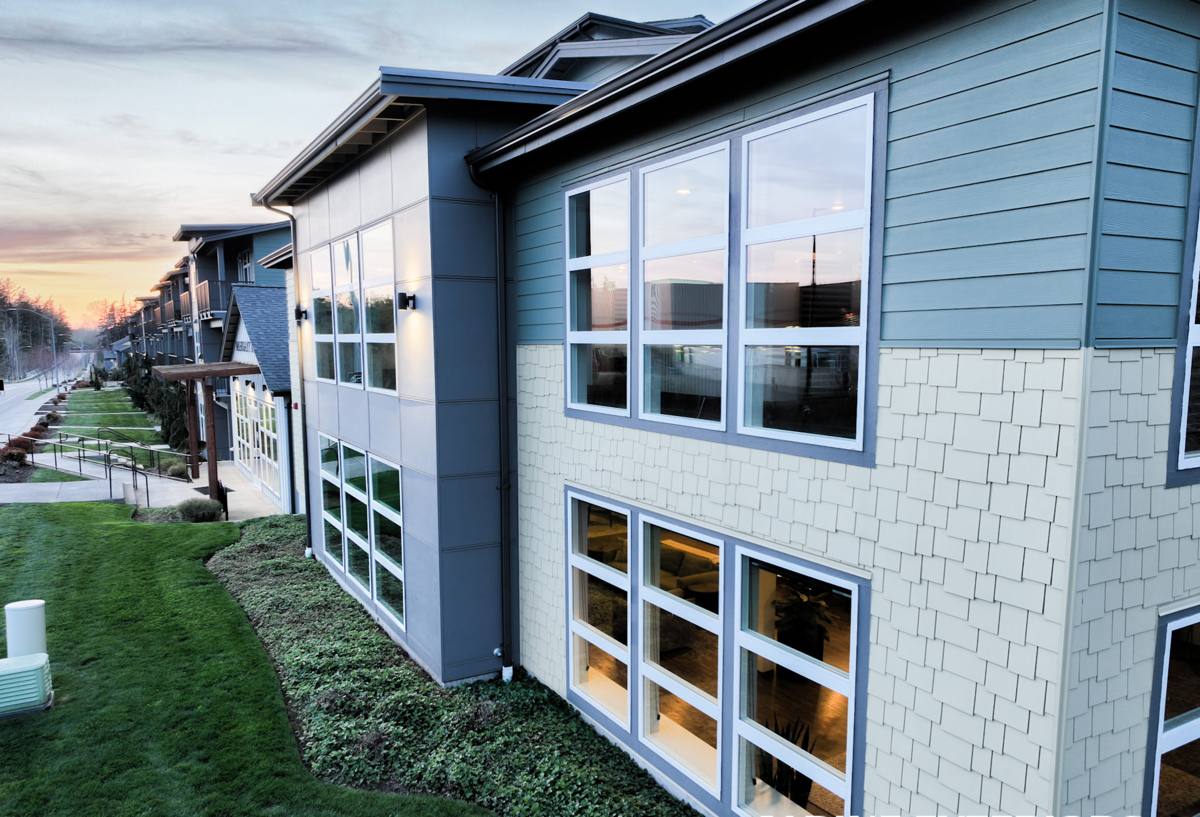
What This Climate Demands From a New Window Install
Whatcom County weather isn't dramatic, but it's relentless, and that's exactly what wears out a poorly installed window. Three things matter most for a South Hill build:
Salt Air and Metal Fatigue
Proximity to Puget Sound air means airborne salt reaches hardware, fasteners, and metal flashing well inland from the water itself. Cheap or mismatched fasteners and uncoated flashing corrode faster here than they would in a dry inland climate. On a new-construction install, every fastener and flashing component is a permanent part of the wall — you don't get to inspect or replace it without tearing into finished siding. That's why fastener and flashing material selection matters more on day one of a new build than it does on almost any other part of the house.
Driving, Wind-Blown Rain
Rain here doesn't just fall — storms off the Sound push it sideways into south- and west-facing walls. A new-construction window relies on lapped, shingle-style flashing (housewrap over the top flange, sealant and tape at the sides and sill, and a sloped sill pan) to shed that water outward instead of behind the siding. Any shortcut in that sequence becomes a problem exactly when it matters most — during a wind-driven rain event, not a light drizzle.
A Long Moss Season
Extended damp, low-sun stretches from fall through spring keep exterior wood and trim wet for days at a time, and that's exactly the condition moss and mildew need to take hold. On a new build, that means trim materials, caulking, and paint or stain need to be chosen and detailed for prolonged moisture exposure, not just occasional rain — bare or unprimed wood trim around a new window is an invitation for both moss growth and slow rot.
New-Construction vs. Replacement: Why the Distinction Matters
A lot of homeowners use "new windows" to mean any window project, but the installation method is fundamentally different depending on the situation, and using the wrong one is a common source of failures we get called to fix later.
- New-construction (nail-fin) windows — installed into an open rough opening before siding and interior finish go on. The nailing fin fastens to the sheathing and gets integrated into the weather-resistive barrier (WRB) and flashing system. This is the correct method for new builds, additions, and any wall being opened down to the studs.
- Replacement (pocket) windows — installed into an existing, finished opening without disturbing the surrounding siding or trim. No nailing fin; the frame fits inside the old one. This is the right call when the wall assembly is otherwise sound and you're not touching the exterior finish.
Using a replacement-style window where a new-construction install is called for (or vice versa) either wastes money on unnecessary demo, or — worse — leaves a wall assembly without proper flashing integration. Part of our job on a South Hill project is confirming which method the actual framing and siding sequence calls for before ordering product.
The Anatomy of a Correct New-Construction Install
There's no shortcut version of this that holds up long-term. The sequence, roughly in order, looks like this:
- Rough opening check — confirm the opening is square, plumb, and sized correctly with proper clearance, before the window ever shows up on site.
- Sill pan flashing — a sloped, back-dammed pan under the window so any water that does get past the exterior sheds back outside, not into the wall cavity.
- WRB integration — housewrap or building paper lapped correctly around the opening so water always drains down and out over each layer below it, never behind it.
- Setting the window — shimmed level, plumb, and square, fastened through the nailing fin per the manufacturer's schedule (this is also where fastener choice for salt-air resistance matters).
- Side and head flashing — flashing tape or metal flashing lapped in the correct shingle-style order over the nailing fin, sealing the fin to the WRB.
- Sealant at the interior — a continuous air seal between the window frame and the rough opening, which also does double duty for energy performance.
- Exterior trim and finish — installed and sealed in a way that sheds water away from end grain and joints, since this is where the long moss season does the most damage if it's skipped.
Skipping or reordering any one of these steps is invisible on install day and only shows up as a problem years later — which is exactly why the installer's habits matter more than the window brand.
Choosing Frame Material for South Hill's Climate
Frame material affects how a new-construction window handles years of damp, salt-tinged air. There's no single "best" choice for every project — it depends on budget, exposure, and how the rest of the house is finished. Here's how the common options stack up for this specific climate:
| Frame Material | Moisture & Salt-Air Behavior | Maintenance | Typical Cost Position |
|---|---|---|---|
| Vinyl | Doesn't corrode or rot; performs well in damp, salty air | Low — occasional cleaning | Lower to mid |
| Fiberglass | Excellent dimensional stability; handles moisture and temperature swings well | Low | Mid to higher |
| Wood (clad exterior) | Good if the exterior cladding is intact; exposed wood is vulnerable in a long moss season | Higher — cladding and any exposed wood need monitoring | Higher |
| Aluminum | Conducts cold and can corrode faster in salt air unless properly coated | Moderate | Varies |
For most new-construction projects on the South Hill side of Sudden Valley, we steer homeowners toward vinyl or fiberglass frames precisely because they remove the ongoing maintenance burden that this climate puts on painted wood or bare aluminum. That's a professional recommendation based on how these materials age here, not a knock on any manufacturer — a well-detailed wood-clad window can also perform fine if the cladding and trim are maintained.
Our Process for South Hill New-Construction Jobs
Because we already work in this area, we're familiar with the typical lot conditions, exposure patterns, and framing practices used on newer South Hill builds, which shortens the guesswork on your job.
1. Site and Plan Review
We look at rough opening sizes, wall orientation (which walls take the worst wind-driven rain), and the WRB and siding system being used, so the window flashing detail is coordinated with the rest of the building envelope — not an afterthought.
2. Product Selection
We walk through frame material, glass package, and hardware finish options based on your budget and the exposure of each wall, with straight talk about trade-offs rather than upselling.
3. Install
Sill pan, WRB integration, fastening, flashing, and sealant — done in the correct order, with attention to fastener and flashing material given the salt-air exposure in this part of Whatcom County.
4. Final Check
Every unit gets checked for square, plumb, smooth operation, and a complete seal before we call the job done.
What to Confirm Before Work Starts
Whether you're hiring us or comparing bids, these are the details worth pinning down on any South Hill new-construction window job:
- Is the crew installing true new-construction (nail-fin) windows into an open rough opening, or a replacement-style unit into a finished one?
- What sill pan flashing method will be used, and is it sloped to drain outward?
- How will the flashing be lapped relative to the WRB — over, under, or both, in the correct shingle order?
- What fastener and flashing metal are being used, and are they rated for coastal or salt-air exposure?
- Who is responsible for exterior trim, caulking, and finish once the window is set?
- What's the manufacturer's warranty, and does it require a specific installation method to stay valid?
Why a Local Crew Matters on New Construction
New-construction window work gets sealed inside the wall — once siding goes up, an installer who cut corners is gone and the mistake is somebody else's problem to find later. A crew that already works Sudden Valley and the surrounding Whatcom County area has seen how these walls actually perform through a full wet season, not just how they look on install day. That's the difference between a flashing detail chosen because it looks right on paper and one chosen because it's been watched holding up through an actual South Hill winter.
It also means fewer surprises during the job itself — familiarity with typical framing tolerances, common siding systems used on newer builds in the area, and realistic scheduling around the wetter months when new-construction work needs extra care to keep the opening protected until the window and flashing are fully in.
Maintenance After Install
A correctly installed new-construction window is largely maintenance-free, but a few habits extend its life in this climate:
- Rinse accumulated grime and salt residue off frames and glass periodically, especially on walls facing prevailing weather.
- Keep gutters and downspouts clear so runoff doesn't concentrate near window heads and sills.
- Watch exterior trim and caulk joints each fall for early cracking before the wet season sets in.
- Trim back vegetation that shades a window and keeps that wall damp longer than it should be.
If you're planning a new build or an addition on the South Hill side of Sudden Valley and want the window installation done right the first time, we're happy to walk the plans or the framed opening with you and give you a straightforward, no-pressure estimate using the form below.