 Sudden Valley Exterior
 New Construction Is a Different Job Than Replacement
A lot of homeowners lump all window work into one category, but installing windows into a home under construction is a fundamentally different job than swapping out old windows in a finished house. In a replacement, the window fits into an existing opening and the surrounding siding, trim, and weather barrier are already in place and (hopefully) working. In new construction, we're building the water management system from scratch — the window is just one part of a layered assembly that has to shed water correctly for the next 30-plus years before the siding ever goes up.
That distinction matters more in Ferndale than in a lot of places. Whatcom County sits right up against the water, and homes here take a steady diet of wind-driven rain off the Strait, salt-laden air, and a moss season that can stretch from fall through spring. Get the new-construction install right and none of that is a problem. Get it wrong — even in small, invisible ways — and you're looking at rot, staining, or failed seals within a few years, hidden behind finished walls where nobody will see it coming until there's damage.
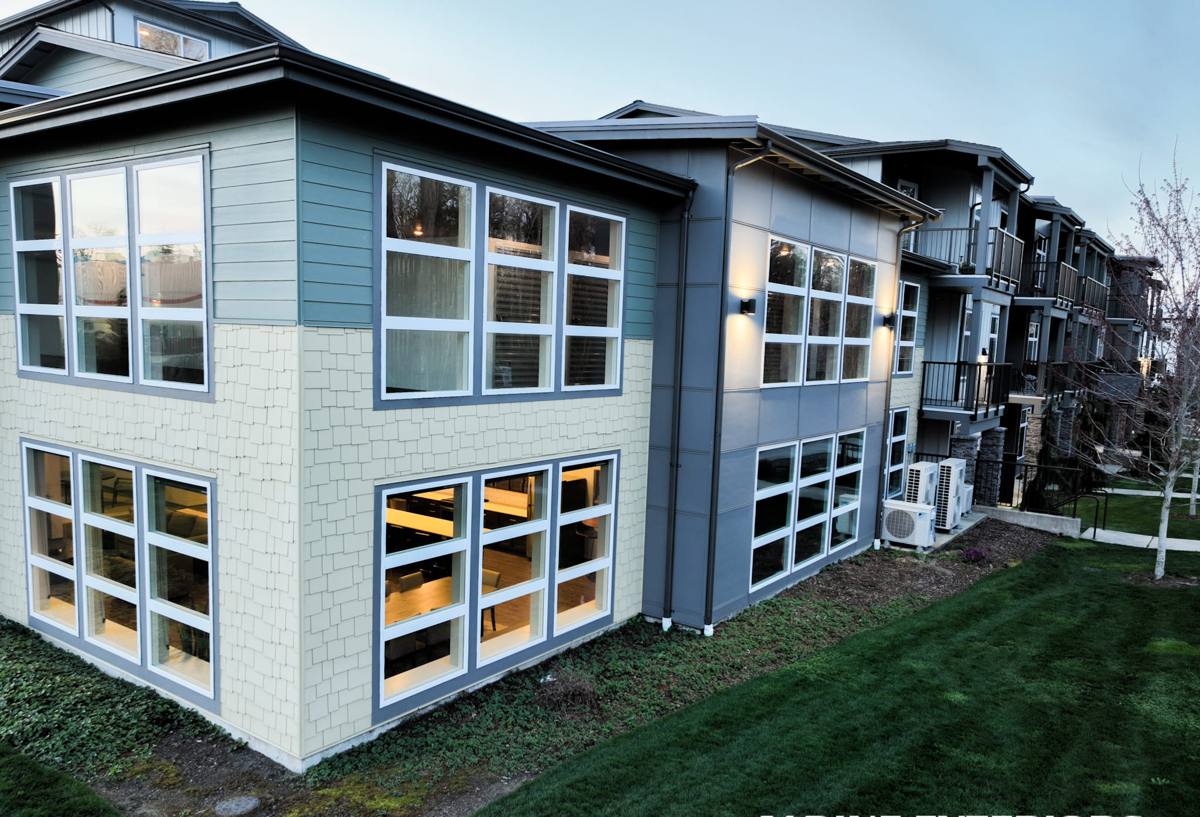
What Ferndale's Climate Actually Does to a Window Installation
Salt Air and Hardware
Ferndale's proximity to the water means salt-laden air reaches homes even a few miles inland, especially on windy days. Salt air accelerates corrosion on unprotected fasteners, cheap cladding, and low-grade hardware. It's not usually the glass or the frame that fails first — it's the small stuff: screws, hinges, and flashing metal that weren't rated for a marine-influenced environment.
Driving Rain
Whatcom County gets rain that doesn't just fall straight down — wind off the water pushes it sideways into wall assemblies. A window installed to a "dry climate" standard, with minimal flashing and reliance on caulk alone, will eventually let water in around the perimeter. New-construction installs need to assume wind-driven rain as the normal condition, not the exception.
A Long Moss Season
Moss doesn't grow on the window itself, but the same damp, low-sun conditions that grow moss on roofs and siding also keep wall assemblies wetter for longer stretches of the year. Materials around the window — sill pans, trim, sealants — need to handle extended dampness without breaking down, not just survive an occasional storm.
The Water Management Details That Actually Make or Break the Job
Almost every window failure we're called out to fix traces back to water management, not the window unit itself. On a new build, we control every layer, so there's no excuse for getting this wrong.
Sill Pans Come First
Before any window goes into a rough opening, that opening needs a sloped, sealed sill pan so that any water that does get past the window has a path back outside instead of soaking into the framing. Skipping this step, or using a flat, unsealed sill, is one of the most common shortcuts we see on new builds — and one of the hardest to catch once the siding is on.
Flashing Has to Follow a Sequence
Flashing tape and the weather-resistive barrier (WRB) have to be layered in a specific shingle-lap order — sill, then jambs, then head — so water is always directed down and out, never trapped behind a layer above it. In a driving-rain climate like ours, a flashing detail installed out of sequence can let water track sideways into the wall cavity for years before anyone notices.
The Window-to-Wall Gap
The small gap between the window frame and the rough opening needs to be sealed and insulated correctly — not overpacked with expanding foam, which can bow the frame, and not left with only caulk, which won't hold up to years of wind-driven moisture. This is a detail that's easy to rush and expensive to fix later.
Frame Material and Glass: What Actually Holds Up Here
There's no single "best" frame material for every project — it depends on budget, the home's design, and how much upkeep the owner wants to take on. Here's how the common options compare for a coastal Whatcom County build:
| Frame Material | Moisture Behavior | Maintenance | Typical Lifespan |
|---|---|---|---|
| Vinyl | Won't rot or corrode; performs well in salt air | Low — occasional cleaning | 20-30+ years |
| Fiberglass | Very stable, minimal expansion/contraction, excellent moisture resistance | Low | 30-40+ years |
| Wood-clad | Good if cladding and seals stay intact; interior wood needs protection from condensation | Moderate to high — cladding seams and interior finish need periodic attention | 20-30 years with upkeep |
For most new-construction projects in this area, we lean toward vinyl or fiberglass because they hold up to salt air and repeated wetting without the ongoing maintenance a clad wood frame demands. Wood-clad windows can still be the right call for a specific architectural look — that's a legitimate trade-off between appearance and upkeep, not a defect in the product, and it's worth discussing honestly before you commit to a look that requires more attention down the road.
On glass, a low-E coating with argon fill is standard practice at this point for energy performance, and it also cuts down on interior condensation during our cooler, wetter months — which matters for protecting interior trim and sills over time.
Our New-Construction Window Process
- Rough opening check — verify the opening is square, correctly sized, and structurally ready before the window arrives on site.
- Sill pan installation — sloped and sealed so any incidental water drains back outside.
- Window set — leveled, plumbed, and squared, then fastened per the manufacturer's specification (fastener type and spacing matter for both structural performance and warranty).
- Flashing integration — jamb and head flashing tied into the WRB in proper shingle-lap order.
- Gap treatment — low-expansion foam or backer rod and sealant around the perimeter, sized to the actual gap rather than a one-size-fits-all approach.
- Exterior detailing — trim, kick-out flashing at roof-wall intersections near windows, and sealant joints finished to shed water, not trap it.
- Final walk-through — every unit checked for operation, seal, and squareness before we sign off.
We coordinate this sequence directly with whoever is running the siding and weather barrier work, because a window installed correctly but tied into a poorly lapped WRB will still leak. On a new build, the window crew and the WRB/siding crew are really working on one continuous system, and the handoff between them is where a lot of problems start if nobody's paying attention.
Coordinating with Builders on a Ferndale Job Site
Most of our new-construction window work happens alongside a general contractor or builder, not as a standalone job. That means timing matters: windows need to go in after the WRB is up but often before certain siding details are finished, and we need to be back on site for trim and final sealant work once other trades have finished around the openings. We're used to working within a builder's schedule rather than around it, and we flag sequencing issues — like a WRB detail that doesn't match up with our flashing plan — before they get buried behind finished walls.
Checklist: What a Correct New-Construction Window Install Should Include
- Sloped, sealed sill pan under every window
- Flashing tape lapped in the correct sill-jamb-head order over the WRB
- Fasteners and hardware rated for a coastal/marine-influenced environment
- Gap between frame and rough opening sealed and insulated without overpacking
- Exterior sealant joints tooled to shed water, not just fill a gap
- Kick-out flashing where a roof line meets a wall near a window
- Every unit checked for square, level, and smooth operation before sign-off
If a contractor can't walk you through each of these steps for your project, that's worth asking about before work starts, not after the siding is closed up.
Why a Crew That Already Works Ferndale and Whatcom County Matters
Window installation methods that work fine in a drier, more sheltered climate can fall short here. A crew that regularly works Ferndale and the surrounding Whatcom County area already knows to treat wind-driven rain and salt exposure as standard conditions, not exceptions — it shows up in the flashing details, the hardware they spec, and the sealants they trust to hold up through a wet winter and a long moss season without breaking down. That local experience also means fewer surprises with regional permitting expectations and a better sense of how local builders sequence their jobs, which keeps your project moving instead of waiting on rework.
What Affects the Cost of New-Construction Windows
Pricing for new-construction window packages varies a lot from one project to the next, and anyone who quotes a firm number without seeing your plans is guessing. That said, homeowners in this region typically see installed costs somewhere in the range of $600 to $1,500 per window, with the final number driven by a handful of factors:
| Factor | Why It Moves the Price |
|---|---|
| Frame material | Vinyl is generally the most budget-friendly; fiberglass and wood-clad cost more upfront |
| Window size and count | Larger units and higher window counts increase both material and labor cost |
| Glass package | Upgraded low-E coatings, triple-pane, or tempered/safety glass where code requires it add cost |
| Site access and staging | Second-story installs or tight lot access can add labor time |
| Custom shapes or sizes | Non-standard openings mean special-order units and longer lead times |
The best way to get an accurate number is a walk of the plans or the job site — broad ranges are useful for budgeting, but your actual quote should reflect your specific windows, not an average.
Getting Started
If you're building or adding onto a home in Ferndale and want windows installed the way this climate actually requires — proper flashing, the right hardware, and a crew that coordinates cleanly with your builder — we're happy to take a look at your plans. Reach out for a free, no-pressure estimate using the form below.