 Sudden Valley Exterior
 New-Construction Windows in Yew Street: Get It Right Before the Siding Goes On
Yew Street sits inside the broader Sudden Valley community, where a lot of building happens on wooded, lake-adjacent lots with a lot of shade, a lot of moisture, and framing crews working against a Whatcom County rain calendar that doesn't leave many dry weeks. When you're building new, there's exactly one window in the schedule where the wall is fully open, the sheathing is exposed, and a crew can flash the rough opening correctly without cutting into finished siding to fix it later. That's the whole case for doing new-construction window installation right the first time: it's the cheapest and easiest it will ever be to do properly, and the most expensive and disruptive it will ever be to redo.
New-construction windows are built with a nailing fin around the perimeter of the frame, meant to be installed before the weather-resistive barrier (WRB) and siding go on. That's different from a replacement or retrofit window, which gets set into an existing opening with the exterior finish already in place. Confusing the two approaches — or having a crew install a new-construction window without integrating it correctly into the wall assembly — is where most of the water problems we get called out to fix actually started.
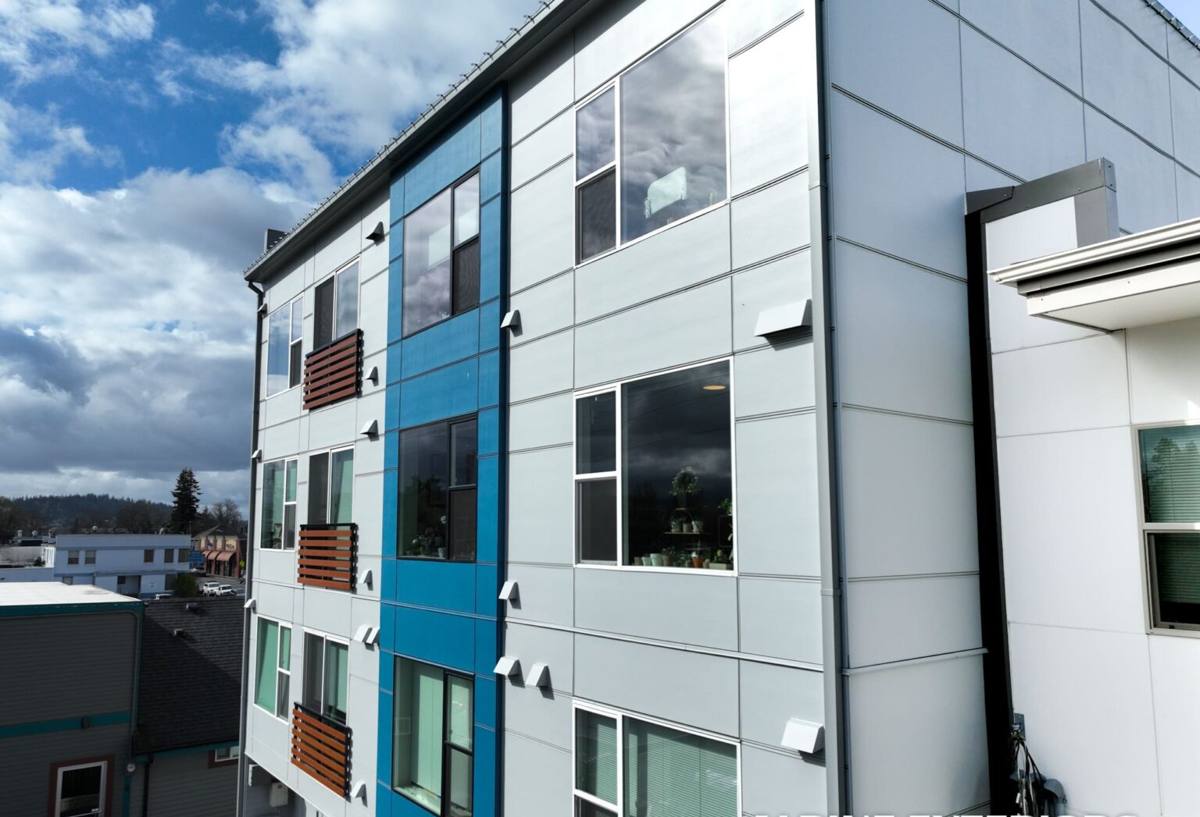
What Our Climate Does to a New Window Over Time
Whatcom County's marine climate brings three things that matter a lot for a brand-new window assembly: salt-laden air moving in off the Sound, long stretches of driving, wind-pushed rain rather than gentle vertical rainfall, and a moss season that can run for months on shaded, north-facing walls. None of these show up on day one. They show up in year three, five, or ten, and by then the damage is usually hidden behind the siding.
Salt air is hard on exposed metal — fasteners, hinge hardware, and unprotected flashing corrode faster here than they would inland. Driving rain doesn't just test the glass and frame, it tests every seam, lap, and joint in the flashing and WRB around the window, because wind pressure can push water sideways and upward where gravity alone wouldn't take it. And moss and the algae that come with it thrive on the damp, shaded surfaces common on wooded Sudden Valley lots, holding moisture against trim and siding longer than it would sit on a sunnier, more exposed wall. None of that is a reason to over-build a window installation — it's a reason to get the ordinary details exactly right, because there's no margin for skipping steps here the way there might be in a drier climate.
The Installation Sequence That Actually Keeps Water Out
There's no secret to a watertight new-construction window. It's a sequence, and skipping or reordering a step is what causes rot behind the wall years later.
Sill Pan and Sloped Sill
Every rough opening should get a sill pan — a flexible, sloped membrane at the bottom of the opening — before the window ever goes in. It gives any water that gets past the window a way to drain back out to the exterior instead of sitting on the sheathing. On a site with as much rainfall as ours, a flat or unprotected sill is one of the fastest paths to hidden framing damage.
Housewrap and Flashing Integration
The WRB has to be integrated with the window flange in the right order — commonly called shingle-lap: sill flashing first, then the window, then jamb flashing over the sides of the nailing fin, then head flashing over the top, with the housewrap layered so each piece overlaps the one below it. Done backward, water that runs down the wall gets funneled behind the window instead of over it.
Head Flashing and the Drip Cap
Above the window, a drip cap or head flashing breaks the water's path so it sheds forward off the wall instead of tracking back against the top of the frame. In a driving-rain climate, this detail earns its keep every winter, not just in the occasional storm.
Sealant, Backer Rod, and Where Not to Caulk
Sealant belongs at specific joints, with backer rod behind it so the bead flexes instead of tearing as the building moves seasonally. Just as important is where sealant should not go — some manufacturers require a gap at the sill for drainage, and caulking that shut traps water instead of releasing it.
Picking the Right Window for a Sudden Valley New Build
Frame material matters more here than in a dry climate, because whatever you choose is going to sit in damp, shaded conditions for a good part of the year. There's no single right answer for every project — it comes down to budget, maintenance appetite, and how exposed the elevation is.
| Frame Material | Moisture Behavior | Maintenance | Typical Fit |
|---|---|---|---|
| Vinyl | Won't rot; performs well if installed and flashed correctly | Low — no painting or sealing | Most new-construction budgets; solid all-around choice |
| Fiberglass | Very stable, dimensionally, in wet-dry cycling | Low | Larger openings, higher-performance builds |
| Wood-Clad | Interior wood needs the exterior cladding and flashing to stay intact to avoid moisture reaching the wood | Higher — depends on cladding integrity over time | Homeowners prioritizing a wood interior look who accept the added care |
Beyond frame material, glazing package matters just as much in our climate. Low-E coatings and a warm-edge spacer help control interior condensation, which shows up more in humid, cool, shaded homes than in dry climates — condensation on the inside of glass in winter is usually a glazing or ventilation issue, not a sign the window is defective. Washington's state energy code also sets minimum performance requirements for new-construction windows, and our part of the state falls into a stricter marine climate zone than much of the rest of the country, so the glass package that's code-minimum here is already a step up from what's required in a milder region.
Coordinating Windows with Your Builder's Schedule
New-construction window work doesn't happen in isolation — it has to fit into the framer's and general contractor's schedule. Rough openings need to be verified against actual window sizes before ordering, not just against the plan set, because framing tolerances are real. Lead times on ordered windows can run several weeks, so ordering has to happen early enough that the crew isn't standing around waiting, or worse, tempted to dry the house in without windows installed. And because we're working around a wet season for a big chunk of the year, scheduling the install for a stretch of manageable weather — rather than forcing it into a driving-rain week — protects both the sheathing and the install quality.
New-Construction Windows: What Can Go Wrong
- Window installed directly against sheathing with no sill pan
- WRB and flashing layered in the wrong order, funneling water behind the window instead of over it
- Nailing fin not fully and evenly fastened, leaving gaps that flex under wind pressure
- No head flashing or drip cap above the unit
- Sealant applied at a drainage gap that was designed to stay open
- Rough opening sized to the plan set instead of verified against the actual window before ordering
- Windows installed in a downpour with no protection for the open wall assembly
Every one of these is avoidable with a crew that treats the sequence as non-negotiable rather than as a suggestion.
What Drives the Cost on a New-Construction Job
| Factor | Why It Matters |
|---|---|
| Number and size of openings | More units and larger glass mean more material and labor hours |
| Frame material and glazing package | Vinyl, fiberglass, and wood-clad price differently, as do upgraded low-E glass packages |
| Flashing and sill pan complexity | Custom sill conditions, larger sliders, or multi-unit combinations take more detail work |
| Access and elevation | Second-story or hard-to-reach openings on a sloped Sudden Valley lot take more time and equipment |
| Schedule coordination | Rush timelines or working around a GC's tight dry-in window can affect labor cost |
Our Process for Yew Street New-Build Projects
We start by reviewing the plan set and rough opening dimensions with your builder before anything is ordered, so we're not guessing at sizes once framing is up. From there we help select frame material and glazing based on the elevation, exposure, and your budget — a shaded, north-facing wall on a wooded lot doesn't necessarily need the same glazing package as a wall that gets full afternoon sun. On install day, we follow the same sill pan, flashing, and fastening sequence on every opening, regardless of how small or routine it looks, because that consistency is what actually keeps water out for the life of the house. Before we leave, we walk the openings with you or your builder so everyone can see the flashing details before siding covers them up for good.
Why a Crew That Already Works in Sudden Valley Matters
A lot of window problems on new builds trace back to a crew that's used to a drier or milder climate applying habits that don't hold up here. Working in and around Sudden Valley regularly means we're used to the wooded, shaded lots, the driving rain off the water, and the moss season that puts extra demands on flashing and drainage details that a one-off out-of-area install might skip. It also means that if a warranty question comes up two or three winters after the build, we're still local, still reachable, and still standing behind the work we did on your wall — not a crew that moved on to the next county.
If you're building or adding on in Yew Street or elsewhere in Sudden Valley, we're happy to walk the plans with you and talk through window options before you're locked into a product or a schedule. Reach out for a free, no-pressure estimate using the form below.