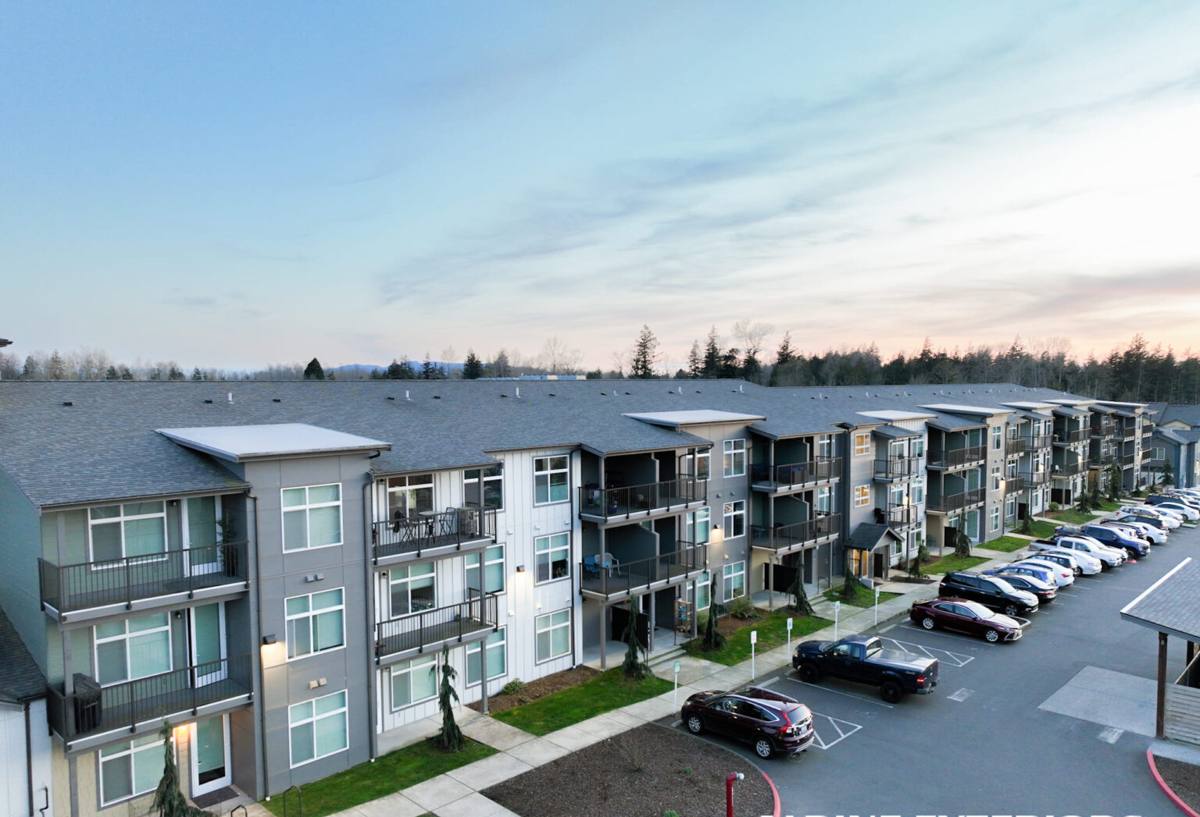
 Sudden Valley Exterior
 Fairhaven's Siding Problem Is a Climate Problem
Fairhaven sits close enough to Bellingham Bay that salt-laden air is a daily fact of life, not an occasional weather event. Add Whatcom County's long wet season, driving rain off the water, and months where north-facing walls barely see direct sun, and you have conditions that are hard on exterior building materials year-round. Siding here doesn't fail because homeowners neglect it. It fails because the product underneath the paint wasn't built for salt air, sustained moisture, and moss growth working on it eleven months out of the year.
We work Fairhaven and the surrounding Sudden Valley area regularly, and the pattern is consistent: siding that looked fine at year eight starts showing soft spots, bubbling paint, or dark streaking by year twelve to fifteen, especially on the shaded and water-facing sides of a house. That's not bad luck. It's the natural end point for wood-based and some engineered wood siding products in this specific climate.
What Fairhaven's Climate Actually Does to Siding
Salt Air
Airborne salt from Bellingham Bay settles on exterior surfaces and accelerates the breakdown of paint films and the substrate underneath. On wood-based products, salt exposure combined with moisture speeds up fiber swelling and edge deterioration, particularly at butt joints and cut ends where the factory coating doesn't reach.
Driving Rain
Storms coming off the water don't just fall straight down — wind-driven rain gets pushed sideways into wall assemblies, seams, and fastener penetrations. Siding that isn't dimensionally stable when wet, or that relies on field-applied caulking to stay sealed, tends to develop small gaps over time that let water behind the cladding.
Moss and Sustained Dampness
Whatcom County's moss season runs long — shaded walls, north exposures, and areas under tree cover can stay damp for weeks at a stretch. Moss and algae hold moisture against the siding surface, which is a slow but steady problem for anything that can absorb water or swell.
Put those three together and you get a simple rule for Fairhaven: siding needs to be dimensionally stable when wet, resistant to moisture absorption at the fiber level, and finished with a coating that doesn't rely on the homeowner repainting every five to seven years to keep water out.
Why We Install Only James Hardie Fiber Cement
We made a decision as a company to install James Hardie fiber cement siding exclusively — not vinyl, not LP SmartSide, not primed spruce or cedar, not other fiber cement brands. That's not a marketing position; it's a practical one, built around what actually holds up in this climate.
- Non-combustible material — fiber cement doesn't feed a fire the way wood-based products can.
- Dimensionally stable when wet — it doesn't swell, warp, or cup the way engineered wood or solid wood siding can after repeated soak-dry cycles.
- ColorPlus factory finish — a baked-on finish applied under controlled conditions, which holds up dramatically better against salt air and UV than field-applied paint, and typically doesn't need repainting for 15 years or more.
- HZ5 engineering — Hardie's HZ5 product line is formulated specifically for wetter, colder climates like the Pacific Northwest, with performance targeted at moisture and freeze-thaw cycling.
- Strong transferable warranty — a real, backed warranty on both the substrate and the factory finish, which matters when you're planning to keep or eventually sell the home.
We're not going to tell you every other siding product is worthless — that's not honest, and it's not our call to make about a homeowner's budget or priorities. What we will say is that once we started tracking how different products actually held up on homes in Sudden Valley and Fairhaven over the years, fiber cement built for this climate was the only thing we were comfortable standing behind with our own labor and our own warranty.
What a Correct Siding Replacement Job Actually Involves
Siding replacement is not a cosmetic swap. The siding is one layer of a multi-layer wall assembly, and if the layers underneath aren't right, new siding will fail the same way the old siding did — just on a new timeline.
1. Tear-Off and Inspection
We remove the existing siding down to the sheathing and inspect for rot, soft spots, and water damage, especially around windows, doors, and any penetrations. This is the point where problems that caused the original failure get found and fixed, not covered over.
2. Weather-Resistive Barrier
A new weather-resistive barrier (housewrap) goes on correctly lapped and taped, giving the wall a drainage plane behind the siding. In a climate with driving rain, this layer matters as much as the siding itself.
3. Flashing at Every Penetration
Windows, doors, and any wall penetrations get properly flashed so water is directed out and away from the wall assembly rather than trapped behind it. This is one of the most common places we find shortcuts on older installations.
4. Rainscreen / Drainage Gap Where Appropriate
Depending on the wall assembly and exposure, a furring or rainscreen gap behind the siding helps the wall dry out between rain events instead of staying damp — important on shaded, moss-prone walls.
5. Hardie Installation to Manufacturer Spec
Fastener placement, joint treatment, and clearances (ground clearance, roof-to-wall clearance) all follow James Hardie's published installation requirements. Installing Hardie incorrectly is one of the fastest ways to void the warranty and shorten its real-world lifespan.
6. Caulking, Trim, and Final Detailing
Correct sealant at the right joints (not every joint — Hardie's design intentionally leaves some joints unsealed to allow drainage), trim work, and a final walk-through.
Signs Fairhaven Homeowners Should Watch For
| What You See | What It Usually Means |
|---|---|
| Dark streaking or persistent moss on north walls | Sustained moisture retention — surface issue now, structural risk if it continues |
| Bubbling or peeling paint | Moisture trapped behind the paint film, often a sign the substrate is absorbing water |
| Soft spots when pressed | Substrate deterioration — likely needs a section opened up to assess |
| Visible gaps at butt joints or corners | Loss of dimensional stability or failed caulking — active entry point for water |
| Warping or cupping boards | Wet-dry cycling stress on a wood-based product |
| Rising repainting frequency | Factory or field finish breaking down faster than expected for the product's age |
Our Process for a Fairhaven Siding Replacement
- On-site assessment — we walk the exterior, check problem areas (especially shaded and water-facing walls), and look at what's underneath if there's visible damage.
- Written estimate — scope, product line, and a clear breakdown of what's included, no vague allowances.
- Scheduling around weather — we plan tear-off and installation around drier weather windows where possible, since an open wall assembly needs to stay protected.
- Tear-off and wall assembly repair — as detailed above, including any sheathing or framing repair found during inspection.
- Hardie installation to spec — correct fastening, flashing, clearances, and joint treatment.
- Final walk-through — we go over the finished work with you before calling the job done.
Why Hiring a Crew That Already Works Fairhaven Matters
Siding installation isn't uniform across regions. A crew used to installing in a dry inland climate can do a technically fine job that still underperforms here, because they're not accounting for driving rain angles, salt exposure, or which walls in this area tend to hold moisture longest. A crew that regularly works Fairhaven and Sudden Valley knows:
- Which orientations on local lots tend to need extra attention to drainage and rainscreen detailing
- How local moss and algae growth patterns should inform maintenance recommendations
- What clearances and flashing details actually hold up against sustained wind-driven rain, not just code minimums
- Realistic scheduling around the wet season so tear-off doesn't leave a wall exposed longer than necessary
That local pattern recognition doesn't replace correct installation — it informs the judgment calls that come up on every real job, like where to add extra drainage detailing or how to sequence work around weather.
Cost Factors for a Fairhaven Siding Replacement
| Factor | Why It Matters |
|---|---|
| Extent of substrate damage found at tear-off | Rot or soft sheathing found behind old siding adds repair scope before new siding goes on |
| Home size and wall complexity | More corners, penetrations, and trim details mean more labor and material |
| Hardie product line and profile chosen | Lap siding, panel systems, and shingle-style products vary in material cost and install time |
| Existing drainage/rainscreen condition | Adding a rainscreen gap where there wasn't one improves long-term performance but adds a step |
| Access and site conditions | Sloped lots, tree cover, and limited access around a home affect labor time |
We don't quote broad numbers on a page like this because every Fairhaven home is different, and a fair estimate has to be based on what we actually find on your walls — not a generic square-footage formula.
A Straightforward Checklist Before You Commit to Any Siding Contractor
- Ask what's happening behind the siding — weather barrier, flashing, and drainage plan, not just the visible product
- Ask whether they follow the manufacturer's published installation instructions, and whether that keeps the warranty intact
- Ask how they handle substrate damage found during tear-off, and how that's priced
- Ask for the specific product line and finish, not just "fiber cement" or "Hardie" as a generic term
- Ask how they sequence work around wet weather so your wall assembly isn't exposed longer than it needs to be
If your Fairhaven home's siding is showing any of the signs above, or you're just planning ahead, we're happy to take a look and give you a straightforward, no-pressure estimate. Fill out the form below and we'll get in touch to schedule a time.