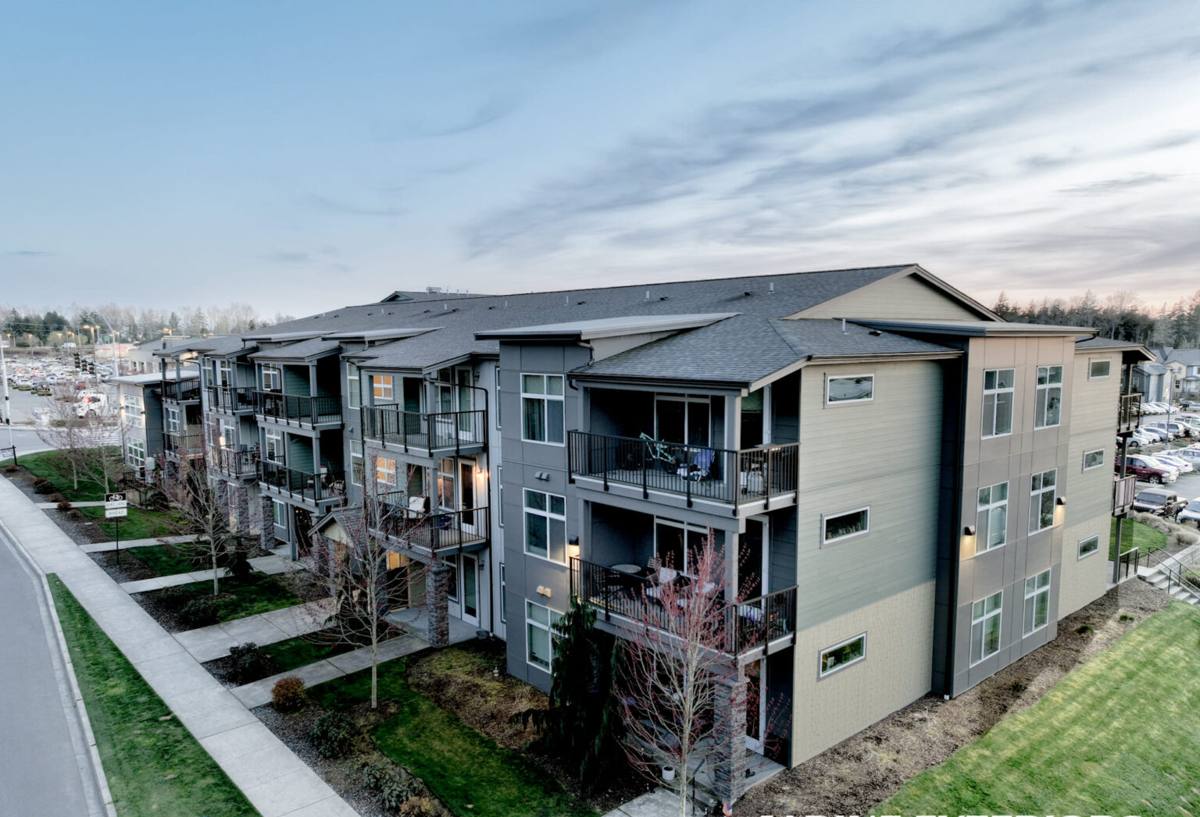
 Sudden Valley Exterior
 The Bellingham Climate Test Your Siding Has to Pass
Homes in and around Bellingham sit in one of the more demanding siding environments in the country, even by Pacific Northwest standards. You've got salt-laden air rolling in off Bellingham Bay, long stretches of driving, wind-pushed rain that gets forced sideways into wall assemblies, and a moss and algae season that can run eight or nine months out of the year on shaded north and west-facing walls. Whatcom County doesn't get the brutal freeze-thaw cycles some inland climates see, but it makes up for it with sustained moisture exposure that never really lets up.
Siding here isn't just a cosmetic layer. It's the first and most important line of defense against a climate that will find every gap, every poorly lapped joint, and every piece of end-grain wood left exposed. A siding installation that would hold up fine in a dry inland climate can fail in five to seven years on a Bellingham home if it's not built for these conditions specifically.
What Actually Fails First on Local Siding Jobs
After years of working on homes throughout the Bellingham area, the failure patterns are consistent. It's rarely the siding material itself that gives out first — it's the details around it.
Moisture Intrusion at the Weak Points
Butt joints without proper flashing, caulk used as a substitute for flashing instead of a supplement to it, and siding installed tight to grade or tight to trim without a drainage gap are the most common culprits. Salt air accelerates corrosion on any exposed fasteners or metal flashing that isn't rated for coastal exposure, which speeds up failure at those same weak points.
Moss, Algae, and Coating Breakdown
On shaded elevations facing the water or tucked under mature trees, organic growth takes hold fast in this climate. Paint-grade siding needs recoating far sooner here than manufacturer estimates suggest, and once moisture gets trapped under a failing coating, the substrate underneath starts to suffer even if it looks fine from the curb.
Wind-Driven Rain Bypassing the Field
Standard lap siding assumes rain falls mostly straight down. Bellingham's storms often push rain horizontally against exposed walls, which means water gets forced up under laps and around window and door openings that would stay dry in a calmer climate. Installation detailing at these transitions matters more here than almost anywhere else in the region.
Why We Install Only James Hardie Fiber Cement
We made a decision a while back to stop installing anything other than James Hardie fiber cement siding, and it wasn't a marketing choice — it was a response to what we kept seeing on tear-offs throughout Whatcom County.
Vinyl siding is inexpensive and easy to install, but it moves with temperature swings, can crack in cold snaps, and doesn't hold paint if a homeowner ever wants to change the color. In a coastal climate with constant moisture cycling behind the panels, vinyl's ability to actually stop water from reaching the wall assembly depends almost entirely on how well the water-resistive barrier and flashing were done underneath it — and vinyl itself gives you very little margin for error.
Primed wood species like cedar or primed spruce look great initially but demand a maintenance schedule most homeowners underestimate: recoating every few years, constant caulk maintenance, and vigilance about end-grain sealing. In a moss-prone, high-moisture climate like this one, that maintenance burden compounds fast, and skipped maintenance shows up as rot within a decade.
Other fiber cement products on the market, along with engineered wood products, each come with their own trade-offs in moisture behavior, factory finish durability, or long-term warranty structure. We're not going to make unverified claims about any specific competitor product failing — we simply made a professional call that James Hardie's HZ5 climate-engineered product line, ColorPlus factory-baked finish, and non-combustible fiber cement composition gave us the best combination of durability and predictability for what this climate throws at a house. It's also backed by a strong transferable warranty, which matters when you're making a 30-plus-year decision on your home.
Siding Material Comparison for Whatcom County Conditions
| Material | Moisture Resistance Here | Maintenance Burden | Coastal/Salt Air Durability |
|---|---|---|---|
| James Hardie Fiber Cement (HZ5) | Engineered for wet climates, dimensionally stable | Low — factory finish holds color for years | Non-combustible, holds up well to salt exposure |
| Vinyl | Depends entirely on underlying WRB/flashing quality | Low, but cannot be repainted if faded or dated | Can become brittle over time in coastal wind exposure |
| Primed Wood/Cedar | Absorbs moisture at cuts and end grain if not sealed | High — recoating and caulk upkeep every few years | Prone to moisture-driven rot without diligent upkeep |
| LP SmartSide / Engineered Wood | Better than raw wood but still moisture-sensitive at edges | Moderate — edge sealing and coating checks needed | Requires careful detailing in high-moisture zones |
What a Correct Installation Involves, Step by Step
The siding material is only part of the equation. What actually determines whether a Bellingham home stays dry for the next 30 years is the installation sequence underneath it.
- Tear-off and substrate inspection — removing old siding to check sheathing for hidden rot, especially around windows, doors, and any past flashing failures.
- Water-resistive barrier installation — a continuous, properly lapped weather barrier that sheds water downward and outward, sealed at every penetration.
- Flashing at every transition — window and door heads, deck ledgers, roof-to-wall intersections, and any horizontal trim, using flashing rated for coastal exposure.
- Rain screen or drainage gap where appropriate — giving incidental moisture a path to drain and dry rather than sitting against the back of the siding.
- Correct fastening per manufacturer spec — proper nail placement, spacing, and depth so panels can move slightly with moisture and temperature without cracking or popping fasteners.
- Joint and butt-seam detailing — factory-primed edges sealed correctly, joints backed and flashed rather than just caulked.
- Final trim, caulking, and touch-up — using sealants and touch-up products compatible with the ColorPlus finish so color and sheen stay consistent.
Skipping or rushing any one of these steps is exactly how a good product ends up with a bad reputation on a specific home. Correct installation is what actually delivers the performance the product is engineered for.
Signs It's Time to Replace, Not Patch
Not every siding problem means a full replacement, but in this climate certain signs point to a wall assembly that's already compromised rather than a cosmetic issue.
- Soft or spongy spots when you press on siding near the bottom edges or around windows
- Persistent moss or dark staining that returns within months of cleaning
- Visible warping, buckling, or gaps that have opened up at seams
- Paint or coating that's peeling rather than just fading
- Interior signs like musty smells, peeling interior paint, or damp drywall near exterior walls
- Siding that's original to a home built more than 25-30 years ago with no known upgrades
If you're seeing more than one of these, it's worth having someone look at the wall assembly itself, not just the visible siding surface.
Cost Factors to Expect
Every home is different, but the price of a siding installation in this area is driven by a consistent set of factors. We won't quote numbers without seeing the house, but here's what actually moves the estimate.
| Factor | Why It Matters |
|---|---|
| Home size and wall complexity | More corners, gables, and dormers mean more cutting, flashing, and labor time |
| Substrate condition | Rotted sheathing found during tear-off adds repair scope before new siding goes on |
| Siding profile and accessories | Lap width, trim style, and corner details all affect material cost |
| Access and site conditions | Steep lots, limited access, or multi-story walls affect equipment and labor needs |
| Existing moisture damage | Prior water intrusion may require additional flashing or sheathing repair, not just cosmetic replacement |
Questions to Ask Before You Hire Any Siding Contractor
- Are you a certified James Hardie installer, and can you explain your flashing and drainage detailing?
- Will you inspect and document sheathing condition before installing new siding over it?
- What warranty applies to the material, and separately, what warranty do you provide on your labor?
- Have you worked on homes specifically in this area, and do you understand the moisture and salt air exposure here?
- Can you walk me through your installation sequence step by step before work starts?
Why Local Experience in Bellingham Matters
A siding crew that mainly works inland or in drier climates can do everything "by the book" from a national spec sheet and still miss the details that matter here. Knowing which elevations in this area take the worst wind-driven rain, how aggressive moss growth gets on shaded walls near the water, and how salt air affects fastener and flashing choices isn't something you learn from a manual — it comes from doing this work on homes in this specific area, season after season.
That local knowledge shows up in small decisions during installation: where to add extra flashing attention, which walls need a closer look at the substrate before covering it up, and how to sequence a job around Whatcom County's weather windows so the water-resistive barrier isn't left exposed longer than it should be. Those decisions are the difference between a siding job that looks right at the end of the project and one that actually performs for the next three decades.
If your Bellingham-area home is due for new siding, or you're not sure whether what you have is still doing its job, we're happy to take a look and give you an honest read on what we see — no pressure, no obligation. Reach out for a free estimate using the form below.